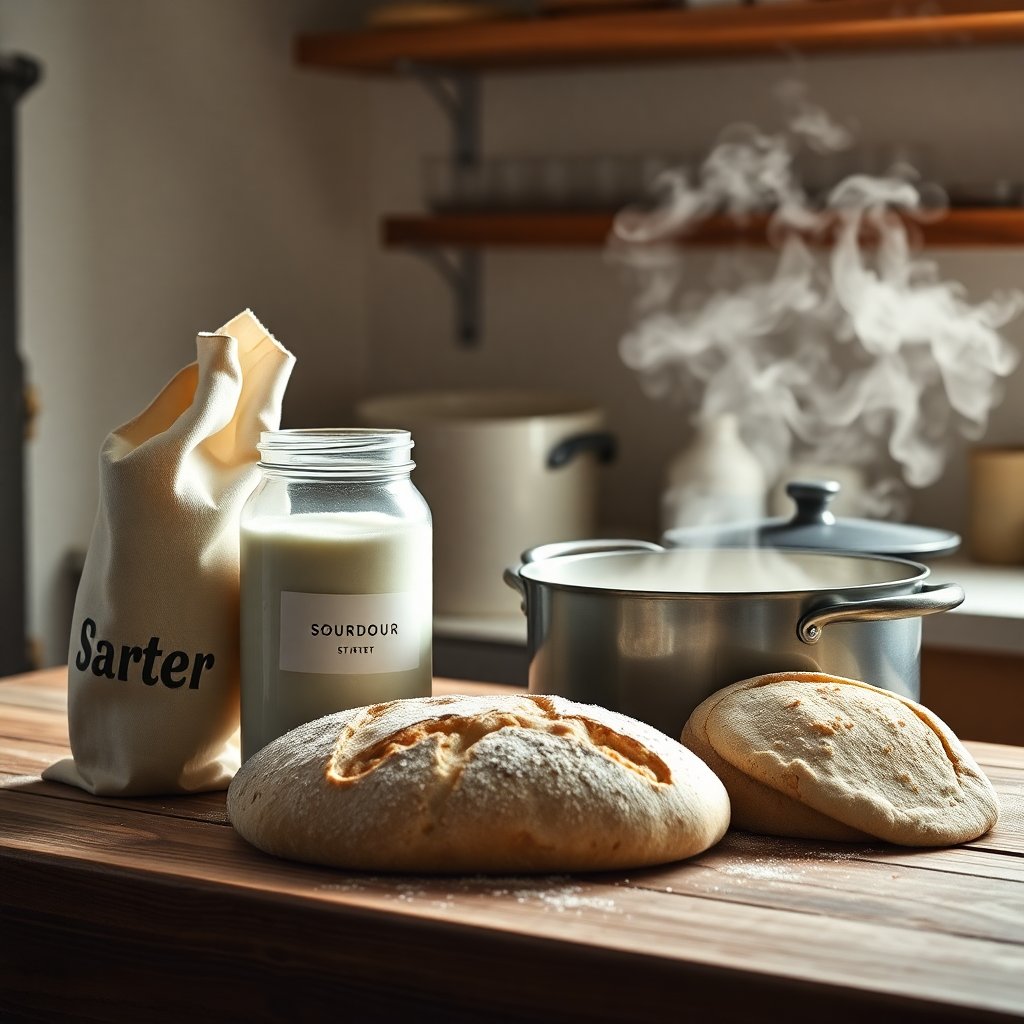
Sourdough for Beginners: Everything You Need to Know Before Your First Loaf
Sourdough has a reputation for being complicated and fussy. It isn't — but it does require understanding what you're actually doing, not just following a recipe by rote.
The problem with most beginner sourdough guides is they give you steps without explaining the why. When something goes wrong (and it will), you have no idea which step to adjust. Understanding the process means you can troubleshoot rather than start from scratch.
This is the guide I wish I'd had for my first loaf.
What Sourdough Actually Is
Sourdough bread is leavened by a live culture of wild yeast and bacteria — your sourdough starter. The yeast produces carbon dioxide, which makes the bread rise. The bacteria produce lactic and acetic acids, which give sourdough its characteristic tang and contribute to its longer shelf life compared to commercial yeast bread.
There's no commercial yeast in real sourdough. The rise comes entirely from your starter.
This is why sourdough takes longer than commercial yeast bread: wild yeast ferments more slowly, and the acidic environment the bacteria create takes time to develop.
The Full Process at a Glance
Before we go deep, here's the complete sourdough process from start to finish:
- Feed your starter (night before or morning of bake day)
- Make the autolyse — mix flour and water, rest 30-60 min
- Add starter + salt (levain incorporation)
- Bulk fermentation — 4-8 hours at room temperature, with stretch and folds during the first 2 hours
- Preshape
- Bench rest — 20-30 minutes
- Final shape
- Final proof — either at room temperature (2-4 hours) or retarded in the refrigerator overnight
- Preheat oven and dutch oven
- Score
- Bake — 20 min covered, 20-25 min uncovered
- Cool — at least 1 hour before cutting
That's it. The process spans 12-24 hours but most of it is waiting. Active hands-on time is about 30-45 minutes.
Step-by-Step Breakdown
Step 1: Your Starter
Your starter must be active and bubbly before you bake with it. It should double in size within 4-8 hours of feeding and pass the float test (a small amount dropped in water floats due to CO2 production).
If your starter is sluggish, feed it at room temperature for 12-24 hours before your bake day. Cold refrigerator starter needs to be warmed up.
Read the complete starter guide
Step 2: Autolyse (Optional but Helpful)
Mix just the flour and water together, no starter or salt. Let rest 30-60 minutes.
During autolyse, the flour hydrates and enzymes begin breaking down the gluten network. The result: dough that's easier to work with and develops better structure during bulk fermentation. Most beginner recipes include this step; it's worth the extra wait time.
Step 3: Add Starter and Salt
Add your active starter and salt to the autolysed dough. Incorporate thoroughly using the "slap and fold" or "pinch and fold" method — squeeze the salt and starter into the dough until evenly distributed.
Why add salt separately from starter? High salt concentrations can inhibit yeast activity. By adding the starter first and then the salt, you ensure better incorporation without killing your fermentation activity.
Step 4: Bulk Fermentation
This is the most important and most misunderstood stage.
Bulk fermentation (also called "first rise" or "bulk proof") is where most of the fermentation and gluten development happens. The dough rises, the flavors develop, and the gluten structure tightens.
Duration: Typically 4-8 hours at room temperature (72-75°F). Shorter at warmer temperatures; longer when cool.
Stretch and folds: During the first 2 hours, perform 4 rounds of stretch and folds, every 30 minutes. Pick up one side of the dough, stretch it up until you feel resistance, and fold it over the opposite side. Rotate the bowl 90 degrees and repeat 3 more times (4 sides = 1 round).
Stretch and folds build gluten strength without kneading. They're essential for getting good structure in high-hydration sourdough.
When is bulk fermentation done? The dough should have grown 50-75%, feel airy and jiggly when you shake the bowl, and have bubbles visible on the sides and surface. A properly bulked dough has a distinctly different texture than when you started — lighter, more voluminous, and feels alive.
This is the stage where most beginners go wrong. They use the clock instead of observing the dough. Watch the dough, not the clock.
Step 5: Preshape
Turn the dough onto a bare (unfloured) counter. Use a bench scraper to gently drag it toward you in a circular motion, building surface tension. Let rest 20-30 minutes (bench rest) uncovered.
The preshape starts organizing the dough structure before final shaping. The bench rest relaxes the gluten after the preshape so you can shape without the dough fighting you.
Step 6: Final Shape
Shape into a round (boule) or oval (batard). The goal is to create surface tension — the skin of the dough should feel tight, like a drum. This tension holds the loaf's shape during proofing and helps it rise upward rather than spreading out.
For a boule: Flip the dough upside down, fold the edges toward the center, flip right-side up, then drag toward you with your hands to tighten the surface.
For a batard: Similar process but elongated — fold one end, roll toward you while tensioning.
Transfer to a floured banneton, seam-side up.
Step 7: Final Proof
Cover and proof until ready. Two options:
Same-day proof: At room temperature for 2-4 hours. The loaf is ready when it looks puffed but not over-expanded, and a poke with a floured finger springs back slowly (not immediately, not not-at-all).
Cold retard: Place in the refrigerator overnight (8-16 hours). Cold retarding slows fermentation, develops more sour flavor, and makes the cold dough easier to score. Most experienced bakers prefer this method.
Step 8: Bake
Preheat your oven and dutch oven to 500°F (260°C) for at least 45 minutes before baking. The vessel needs to be ripping hot.
Turn cold dough out onto parchment paper. Score immediately. Lower into the dutch oven using the parchment as a sling. Cover.
Bake covered at 500°F for 20 minutes. The steam from the dough creates the steam environment that allows full oven spring.
Bake uncovered at 450°F for 20-25 minutes until deeply golden. You want the crust darker than you think — fully baked sourdough should be almost mahogany, not light tan.
Cool for at least 1 hour before cutting. The crumb continues cooking via steam after you remove the bread from the oven. Cut too early and you get a gummy, undercooked crumb. This step is painful to wait through and non-negotiable.
Equipment You Actually Need
Here's the honest list — nothing more, nothing less:
Kitchen scale — Non-negotiable. 1g precision, 5kg capacity. See scale guide
Dutch oven — 5.5qt round enameled cast iron. A Lodge at $65 works. See dutch oven guide
Banneton — 9" round with linen liner. ~$25. See banneton guide
Bench scraper — Metal, not plastic. One of the most useful tools in baking. ~$10.
Lame — For scoring. Straight handle is fine to start. ~$10.
Large glass bowl — For bulk fermentation. You want to see the dough rising through the sides.
Parchment paper — The sling method for loading the dutch oven. Essential.
What you don't need yet: Proofing box, fancy flour, grain mill, brotform collection, scoring stencils. Get your first 10 loaves dialed in first.
Common Beginner Mistakes
Using the clock instead of watching the dough. Bulk fermentation time depends on temperature. A 4-hour bulk at 72°F becomes a 2.5-hour bulk at 80°F. Watch for the signs: volume increase, bubbles, jiggly texture.
Under-proofing. The most common mistake. The dough looks and feels similar to what went in, the loaf doesn't open properly in the oven, the crumb is dense. When in doubt, let it go longer.
Cutting the bread too soon. The crumb is gummy. The center is undercooked. Waiting is hard. Do it anyway.
Weak starter. Your bread won't rise if your starter isn't active. Feed it for 12-24 hours before bake day and make sure it passes the float test.
Not scoring. Or scoring with a dull blade. The bread bursts unevenly, no ear forms, the crust cracks randomly. Use a sharp lame and score with confidence.
Realistic Expectations
Your first loaf will not look like what you see on Instagram. It will probably be a bit dense, slightly gummy in the center, and imperfectly shaped. That's fine. You learned something from it.
Most bakers are pulling consistently decent loaves by bake 5-8. Great loaves by bake 15-20. The variables are manageable once you've seen what under-proofed vs over-proofed looks like, felt the difference in properly vs poorly shaped dough, and learned what your kitchen temperature does to fermentation timing.
Sourdough is a skill. Skills take repetition. The first loaves will suck. Here's how to suck less, faster: bake every week, take notes, adjust one variable at a time.
The payoff — a properly proofed, well-scored, beautifully caramelized loaf that you baked from flour and water and time — is genuinely worth the learning curve.
Frequently Asked Questions
How long does it take to learn sourdough baking?
Most bakers are pulling consistently decent loaves by bake 5–8 and good loaves by bake 15–20. The learning curve flattens quickly once you understand fermentation signs (the dough should feel alive and bubbly before shaping), bulk fermentation timing, and how your kitchen temperature affects the process. Expect your first 3–4 loaves to be learning experiences; treat them as data, not failures.
Is sourdough bread healthier than regular bread?
Sourdough has several nutritional advantages over commercially yeasted bread. The long fermentation process partially breaks down phytic acid (which inhibits mineral absorption), increases the bioavailability of minerals, and produces organic acids that lower the glycemic index of the bread. The lactic and acetic acids also naturally preserve the bread and contribute to digestive benefits for many people. However, it's still primarily a flour product — the health benefits are meaningful but modest.
Why is my sourdough not rising?
The two most common causes: (1) your starter isn't active enough — it needs to reliably double within 4–6 hours of feeding before being used in dough, and (2) fermentation temperature is too cold — sourdough fermentation slows dramatically below 70°F. A third cause is over-proofed dough that has already peaked and collapsed. Take notes on timing and dough behavior to identify which variable is causing your specific issue.
What flour is best for sourdough bread?
Bread flour (higher protein content, 12–13%+) produces more gluten structure and better oven spring than all-purpose flour. King Arthur Bread Flour is the community standard for reliable results. Adding 10–20% whole wheat or rye flour feeds the starter's wild yeast more aggressively and adds flavor complexity. Avoid cake or pastry flour, which have too little protein for good structure.
How do I store sourdough bread?
Cut-side down on a cutting board or in a paper bag for the first 2 days — this preserves the crust. Avoid plastic bags, which trap moisture and soften the crust quickly. After 2 days, wrap tightly in plastic or beeswax wrap if not finishing it. Sourdough freezes excellently — slice first, then freeze in an airtight bag and toast individual slices as needed.
As an Amazon Associate we earn from qualifying purchases. This article contains affiliate links; if you buy through them we may earn a small commission at no additional cost to you.