Sourdough Starter Guide: How to Make, Feed, and Keep One Alive
A sourdough starter is a live culture of wild yeast and bacteria suspended in a flour-water mixture. That sounds complicated. It isn't.
You're creating conditions that naturally occurring microorganisms find hospitable, then maintaining those conditions. The yeast produces CO2 (which makes your bread rise) and flavor compounds. The bacteria produce lactic and acetic acids (which give sourdough its characteristic tang).
All it takes is flour, water, time, and some patience. Here's the full process.
What You Need
- Whole grain flour — rye or whole wheat for starting (higher in wild yeast and nutrients; speed up the process significantly). You can switch to white flour after establishment.
- All-purpose flour — for feeding after the starter is established
- Water — room temperature, non-chlorinated is best (leave tap water out overnight or use filtered)
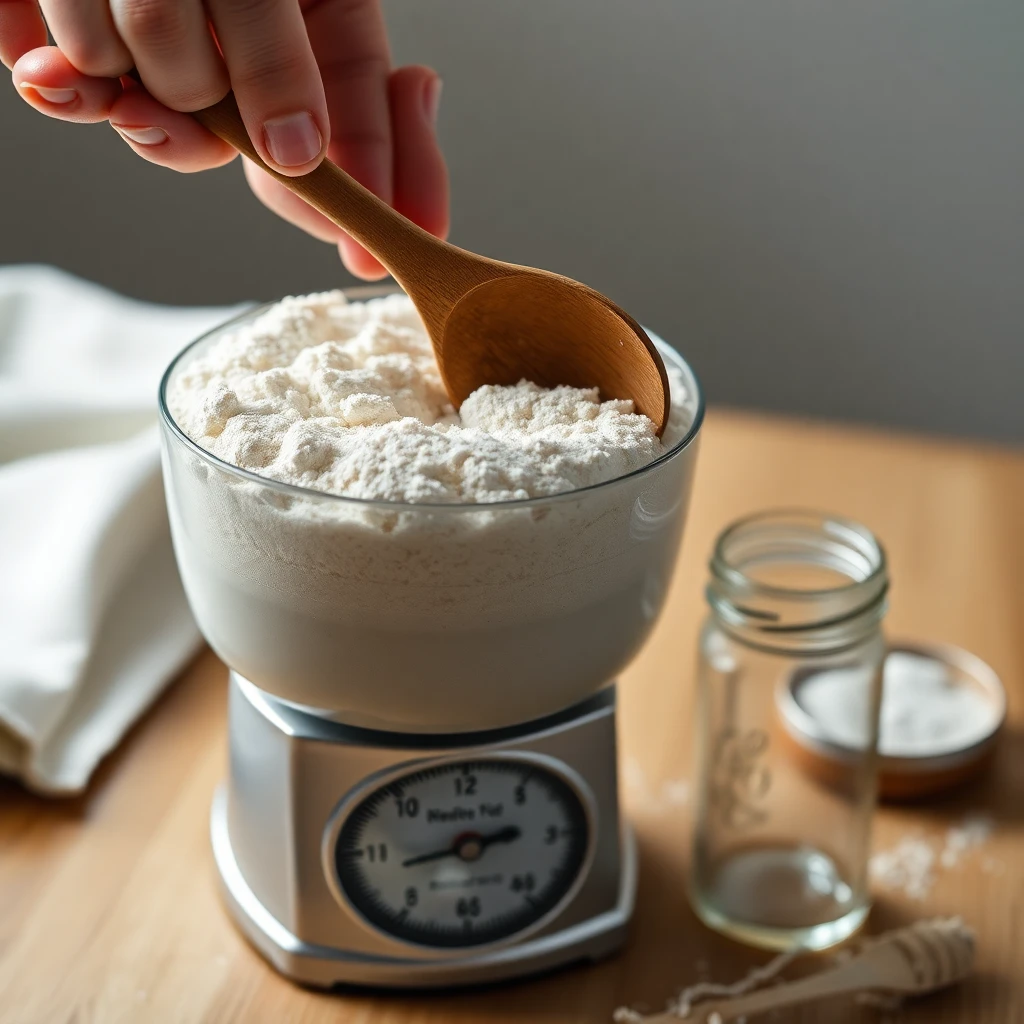
- Kitchen scale — baking by weight is non-negotiable
- Wide-mouth jar — 1-quart wide-mouth mason jars are ideal; allows easy access for feeding
Wide-mouth mason jars on Amazon
Whole rye flour for starter on Amazon
Day-by-Day Creation Guide
Day 1
Combine:
- 25g whole rye flour (or whole wheat)
- 25g room-temperature water
Mix until no dry flour remains. Cover loosely — not airtight, it needs to breathe. Mark the level with a rubber band or piece of tape. Leave at room temperature (70-75°F is ideal).
That's it. You're not doing anything else today.
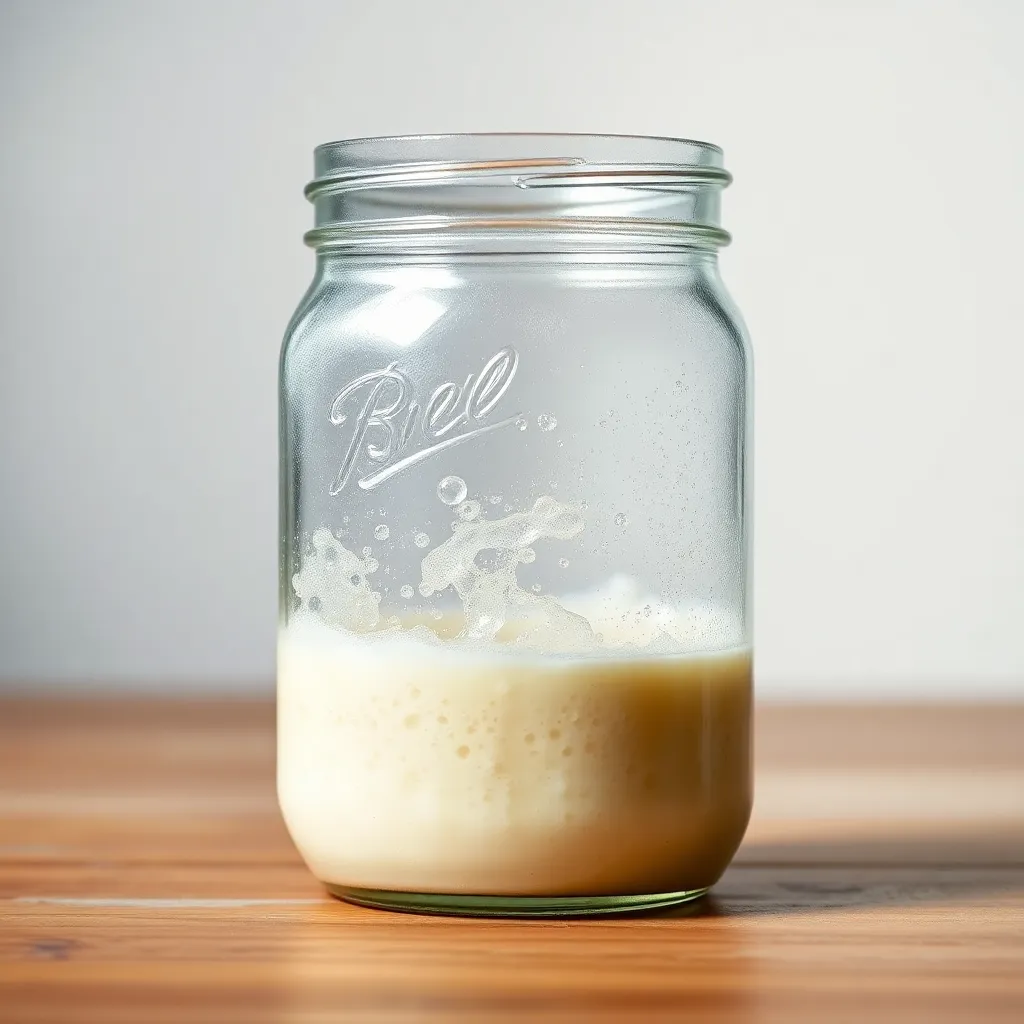
What you'll see: Nothing. The mixture sits there looking like wet clay.
Day 2
Don't feed yet. Many guides tell you to feed on day 2. Don't. The culture needs to establish first.
You may see a few small bubbles. You may see nothing. Either is fine.
What you might smell: Cheese-like, funky, possibly unpleasant. This is normal. Leuconostoc bacteria dominate early in the process — they produce the funky smell. They'll be outcompeted by the yeast and lactic acid bacteria once the pH drops.
Day 3
Your first feeding.
Discard: Remove all but 25g of your starter.
Feed:
- 25g whole rye flour
- 25g water
Mix, cover, mark, and leave.
What you'll see: Possibly some bubbling or rise. Possibly not yet. The discard step is important — it prevents the culture from becoming overwhelmingly acidic before it's established. Don't skip it.
Why discard? You're throwing away viable culture that contains bacteria and proto-yeast activity. The reason is pragmatic: if you didn't discard and kept adding flour, you'd have 5 pounds of starter by day 7. Discarding keeps it manageable and creates the right feed ratio.
Days 4-5
Twice-daily feedings.
Same as Day 3: discard to 25g, feed 25g flour + 25g water. Once in the morning, once in the evening.
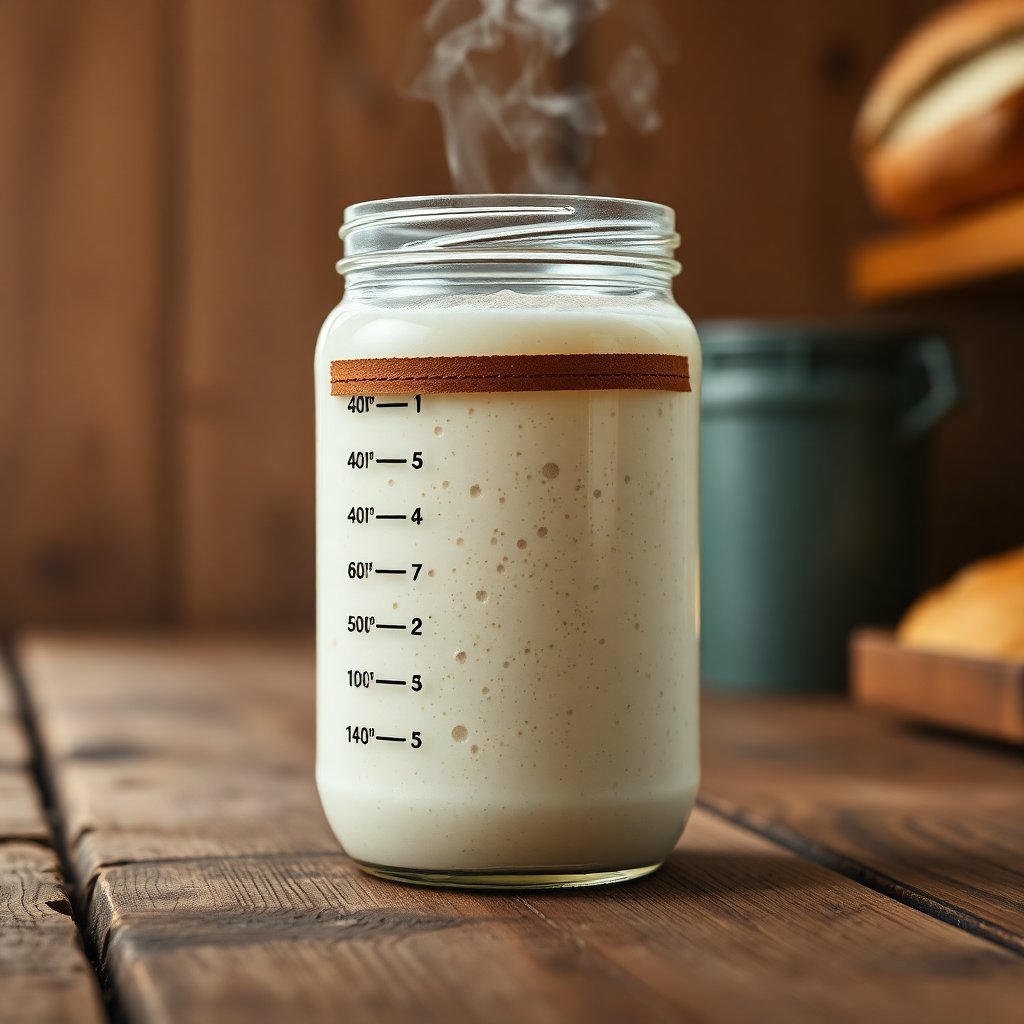
What you'll see: The starter should start showing real activity — rising between feedings, then falling back down. Bubbles throughout the mixture. The surface may dome slightly at peak.
What you might smell: Younger, more yeasty. Less funky. The acidic environment is becoming established and the Leuconostoc bacteria are losing ground to more appropriate strains.
Days 6-7
Transition to all-purpose flour (optional but common).
At this point, you can switch to all-purpose flour if you prefer — many bakers use a 50/50 blend of whole wheat and all-purpose for ongoing maintenance. The rye was to accelerate the process; AP flour maintains it well.
Feeding ratio: Many bakers transition to 1:5:5 at this point — 10g starter : 50g flour : 50g water. This gives the culture more food and slows the activity cycle to once daily.
Is it ready? A starter is ready to bake with when:
- It reliably doubles in size within 4-8 hours of feeding
- It has a pleasant yeasty/tangy smell
- A small amount floats when dropped in water (the float test)
The float test: drop a small spoonful of starter in a glass of water. If it floats, there's enough CO2 production to leaven bread. If it sinks, it needs more time.
Understanding Feeding Ratios
You'll see feeding ratios written as 1:1:1 or 1:5:5. These represent: starter : flour : water.
1:1:1 = Equal parts. If you have 50g starter, you add 50g flour and 50g water. This is a more frequent feeding ratio — the culture eats faster and needs feeding more often. Good for a starter you're using daily or activating before a bake.
1:5:5 = 10g starter + 50g flour + 50g water. The starter is "diluted" more heavily. It takes longer to activate but stays active longer. Good for once-daily feeding when you're not baking every day.
1:10:10 = Even more diluted. Used for slower overnight fermentation cycles or to slow down a very active starter.
There is no single "correct" ratio. It depends on your schedule, ambient temperature, and how frequently you bake.
Troubleshooting
Hooch (liquid on top): A dark, grey-brown liquid that pools on top of the starter. This is alcohol produced by the yeast when the starter is hungry — a sign it needs feeding. It's harmless. Either pour it off or stir it back in (stirring back in increases sourness). Feed immediately.
No activity after 7 days: Try adding a teaspoon of rye flour to a feeding. The enzymes and wild yeast in whole grain flour provide a boost. Also check your water — heavily chlorinated water can inhibit microbial activity.
Sluggish activity: Temperature is probably the issue. Starters below 65°F become sluggish; below 60°F they can go dormant. Move to a warmer spot — top of the refrigerator, inside the oven with just the light on, or a proofing box.
Pink or orange streaks: Stop. This is bacterial contamination and not the good kind. Discard entirely, wash the jar thoroughly, and start over.
Mold (fuzzy, distinct spots): Also discard. Mold means the environment was too wet or too warm without sufficient feeding. Clean jar, start fresh.
Smells like acetone/nail polish remover: The starter is hungry and producing acetone as a byproduct. Not harmful, but feed it.
Ongoing Maintenance
Once established, a starter needs feeding every 24-48 hours at room temperature. For most home bakers who don't bake daily, refrigerator storage is more practical.
Refrigerator storage: Feed once a week. When you want to bake, take it out 12-24 hours before and give it a feeding at room temperature. It should be active and bubbly by bake time.
Long-term neglect: A starter that's been ignored for weeks or months in the fridge can usually be revived with a few consecutive room-temperature feedings. As long as there's no mold or pink/orange streaks, try to rescue it.
Frequently Asked Questions
How long does it take to make a sourdough starter from scratch?
Most starters are reliably active and ready to bake with by day 7–10. The first 2–3 days look like nothing is happening, then activity picks up rapidly. A starter is ready when it consistently doubles in size within 4–8 hours of a feeding and passes the float test.
Why isn't my sourdough starter bubbling after 3 days?
Early inactivity is normal — the microbial environment is still establishing. The most common culprits for a slow start are cold temperatures (below 65°F stalls activity), heavily chlorinated water, or using only white flour (which has fewer wild yeasts than whole grain). Try moving it somewhere warmer and adding a teaspoon of rye flour to the next feeding.
How do I know when my sourdough starter is ready to bake with?
Look for three signs: it reliably doubles in size within 4–8 hours of feeding, it smells pleasantly yeasty and tangy (not acetone or purely funky), and it passes the float test — a small spoonful dropped in water should float when there's enough CO2 production to leaven bread.
How often should I feed my sourdough starter?
At room temperature, feed every 24 hours minimum, or twice daily if you're building up activity before a bake. For low-maintenance storage between bakes, keep it in the refrigerator and feed once a week. Pull it out 12–24 hours before baking and give it a room-temperature feeding to wake it up.
Can I use tap water to feed my sourdough starter?
Tap water usually works fine, but chlorine and chloramine (used in municipal water treatment) can slow microbial activity. Leaving tap water in an open container overnight lets most chlorine off-gas. If your starter is stubbornly sluggish and your tap water is heavily treated, try filtered or bottled water for a few feedings.
The Short Version
Day 1: Mix 25g rye flour + 25g water. Day 3: Start discarding and feeding daily. Days 4-5: Feed twice daily. Days 6-7: Should be doubling consistently. Bake when it passes the float test.
It's slower than you want but faster than you fear. Most starters are genuinely ready by day 7-10. Yours is probably fine — it just needs more time.
As an Amazon Associate we earn from qualifying purchases. This article contains affiliate links; if you buy through them we may earn a small commission at no additional cost to you.